优艾设计网

photoshop合成雪中女王

优艾设计网 https://www.uibq.com 2020-09-14 00:00 出处:网络
来源iPhotoshop  litty译 This lesson we\'ll learn how to create an effect of artificial hair, work with textures and layers, create shadows and highlights and also represent flowery ornaments. 这篇

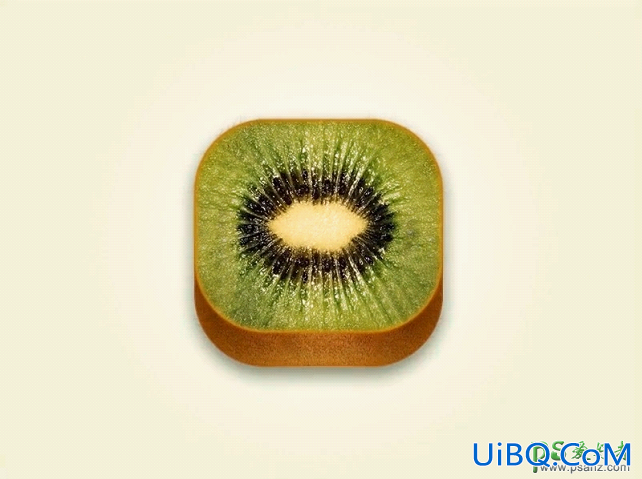
Change the layer's type on Overlay.

层类型改变为覆盖。

photoshop合成雪中女王

Insert above the background now such a texture.

新建层插入一个如下纹理的图片作为背景。

photoshop合成雪中女王

Copy this layer now and turn around the copy, applying Edit -Transform -Flip Vertical. Merge both these layers and change the color (Hue/Saturation)

将背景层复制,粘贴到新层,点击编辑-转换-垂直反转,将两个背景层对称拼接起来,合并,并调整色相/饱和度使得背景色与整体色调相符合。

photoshop合成雪中女王

Open now a picture representing the brooch.

找一张胸针的图片。

photoshop合成雪中女王

 
提示:键盘也能翻页,试试"← →"键
0

精彩评论

暂无评论...
验证码 换一张
取 消