优艾设计网

photoshop合成雪中女王

优艾设计网 https://www.uibq.com 2020-09-14 00:00 出处:网络
来源iPhotoshop  litty译 This lesson we\'ll learn how to create an effect of artificial hair, work with textures and layers, create shadows and highlights and also represent flowery ornaments. 这篇

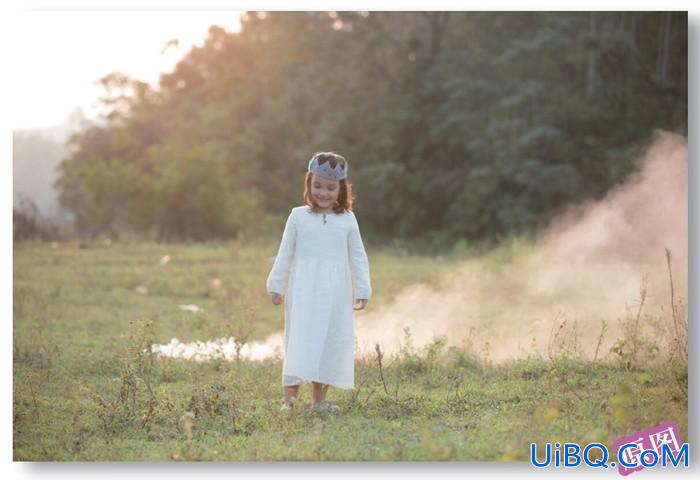
Take now Sponge Tool to decolorize the girl's picture except her scarf on her neck. Increase then the layer's brightness, applying Image -Adjustments -Curves (ctrl+m).

使用海绵工具将MM脱色,围巾除外,之后点击图像-调整-曲线(ctrl+m)将图像调亮一点。

photoshop合成雪中女王

Change the scarf's color on blue one: Image -Adjustments -Hue/Saturation (ctrl+u)

点击图像-调整-色相/饱和度进行如下调整将MM的围巾颜色变成蓝色~

photoshop合成雪中女王

Create now a new layer: Layer -New Layer and make use of Brush Tool to paint the eyes in the same color of the scarf.

新建层,使用画刷工具将MM的眼睛涂成围巾相同的蓝色~

photoshop合成雪中女王

Change the layer's type on Overlay and combine it with the previous one: Layer -Merge Down (ctrl+e). Then increase the picture's size, using Crop Tool. Create a new layer now for the background and place it out lower then the girl's layer. Paint it after that in a neutral color, applying Paint Bucket Tool.

将图层类型设置为覆盖,并合并到MM层里面去(图层-合并图层ctrl+e)。使用裁剪工具扩大画布,新建层放在MM层下面当作背景,使用油漆桶工具随便填充一种颜色。

photoshop合成雪中女王

 
提示:键盘也能翻页,试试"← →"键
0

精彩评论

暂无评论...
验证码 换一张
取 消