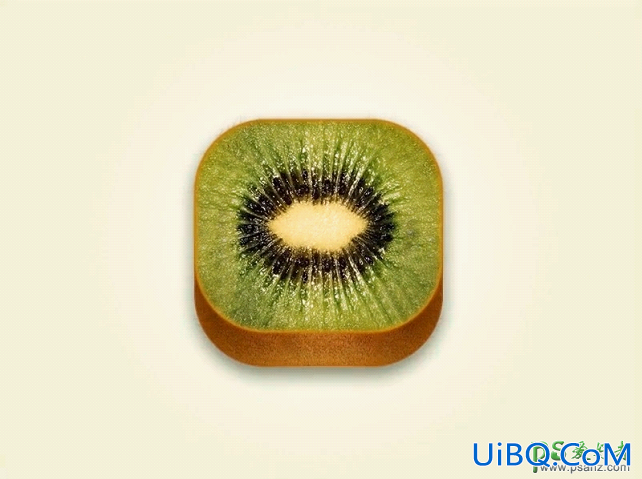
Step 7:Middle Body
Use pentool to create this shape. Use #dbd3co for its color. Add Layer Style InnerGlow and Gradient Overlay.
使用钢笔工具创建此形状。它的颜色使用#dbd3co。添加图层样式内发光和渐变叠加。


step 8
Duplicatethe shape we have just created. Place it behind the original. Use arrow tool tomove the topmost points up. Change shape color to #908a7a.
重复的形状,我们刚刚创建的。原来它放在后面。使用箭头工具移动最上面的点组成。改变形状,颜色为#908a7a。

Step 9
Theshape is still too light. We need to darken it again to add more depth. Createnew layer. Convert layer to Clipping Mask by pressing Command/Ctrl + Alt + G.Paint black on top of the shape.
形状仍然过轻。我们需要再次变暗增加更多的深度。创建新的图层。转换层的迫切剪贴蒙版命令/按Ctrl+ Alt+G。填充顶部形状为黑色。

Step 10
Createnew layer. Activate brush tool, in the Option Bar set brush hardness to 0%.Draw a soft white line.
创建新的图层。激活笔刷工具,设置画笔硬度为0%。画出软白线。


 加载中,请稍侯......
精彩评论